
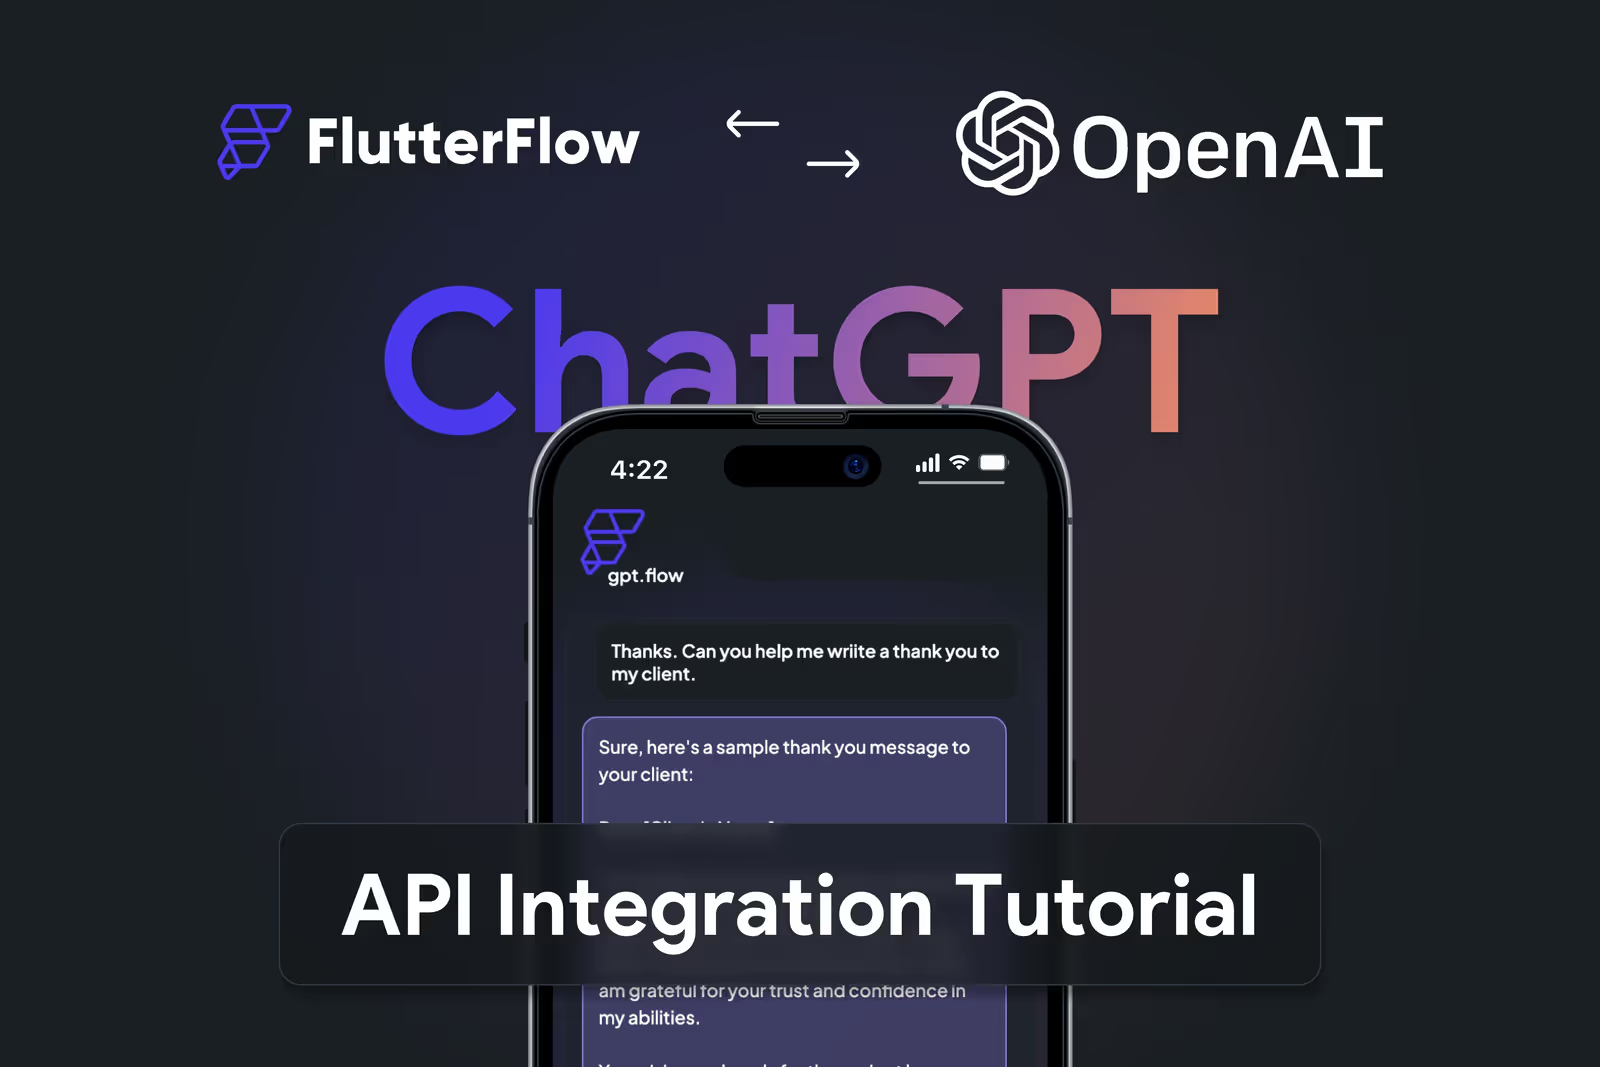
AI-powered apps are very popular now days, and with tools like FlutterFlow (a no-code app builder) and OpenAI’s GPT API, you can create chatbots, smart assistants, and content generators without heavy coding. If you’ve been wondering how to add GPT into your FlutterFlow app, this step-by-step guide will walk you through everything in simple language.
If you want little understanding how frontend , database, API works you can easily integrate flutterflow app with OpenAI GPT API.
Let’s Start learning flutterflow app GPT API integration First of Create API in GPT
Step 1: Get Your OpenAI API Key
To use GPT, you’ll need an API key from OpenAI.
- Go to OpenAI’s platform.
- Sign up (or log in) with your email.
- From your account dashboard, navigate to API Keys.
- Click Create new secret key and copy it.
Save it securely. You’ll use this in FlutterFlow to connect your app to GPT.
Step 2: Prepare Your FlutterFlow Project
Open your FlutterFlow project or create a new one.
Create New Project, Using it widget design frontend of your app.
like- > Drag Input Fields add validation to it then add a button on which the API call will occur.
All this scenerio works according to your business model.
- Go to your project dashboard.
- Decide where you want GPT to be used – for example:
- A chatbot screen.
- A text-generation tool (like blog ideas).
- Smart Q&A assistant.
Having clarity here will help you design the right UI.
Step 3: Set Up API Call in FlutterFlow
FlutterFlow has a built-in API Calls feature.
- On the left menu, go to API Calls.
- Click + Add API Call.
- Fill in details:
- Name:
GPTAPI - API URL:
https://api.openai.com/v1/chat/completions - Method: POST
- Name:
- In Headers, add:
Content-Type: application/jsonAuthorization: Bearer YOUR_API_KEY( add your API here )
- In Body, paste this JSON:
{
  "model": "gpt-3.5-turbo",
  "messages": [
    {
      "role": "user",
      "content": "Hello, can you help me?"
    }
  ],
  "max_tokens": 200
}
There is a test panel where you can test the output.
Step 4: Connect API to Your UI
Now that the API call is ready, you can link it to your app screens.
- Create a TextField where the user will type their question.
- Add a Button – this will trigger the API call.
- Add a Text Widget – to display GPT’s response.
- Go to the Button’s action flow → choose Backend Query → GPT_Text_Generation.
- Pass the user’s input from the TextField into the
"content"field. - Bind the response from the API to the Text Widget.
Now, whenever a user types a question and clicks the button, GPT will generate a reply.
Step 5: Test Your Integration
- Run your app in Preview Mode inside FlutterFlow.
- Type a prompt in your TextField (example: “Tell me a joke”).
- Press the button – GPT’s response should appear in the Text Widget.
If it doesn’t work:
- Double-check your API key.
- Ensure headers are correct.
- Check that the user input is passed into the API call.
Step 6: Polish and Deploy
Once it’s working, you can improve the experience:
- Add a loading indicator while GPT is generating a response.
- Limit the number of responses to avoid high API costs.
- Style the chat UI to look like WhatsApp or Messenger.
Finally, deploy your app via FlutterFlow to Android, iOS, or web.
Conclusion
Integrating OpenAI GPT API with FlutterFlow is not as difficult as it sounds. With just an API key, a few configurations, and some simple UI binding, you can create powerful AI-driven apps without touching heavy code.
Whether you want a chatbot, writing assistant, or Q&A tool – GPT + FlutterFlow can bring it to life in minutes.
Disclaimer: This guide is for educational purposes. API usage may involve costs, so check OpenAI pricing before large-scale use.
We can also Integrate Perplexity AI with Flutter flow App.
